Soft case retro fit - Stuart Templeton (ATC Measurer)
Aim - to recreate the shape of the centreboard case of newer Tasars in older model boats with rectangular shaped cases using softer/forgiving materials.
For this method I only changed the hull section of the centreboard case.
Step 1
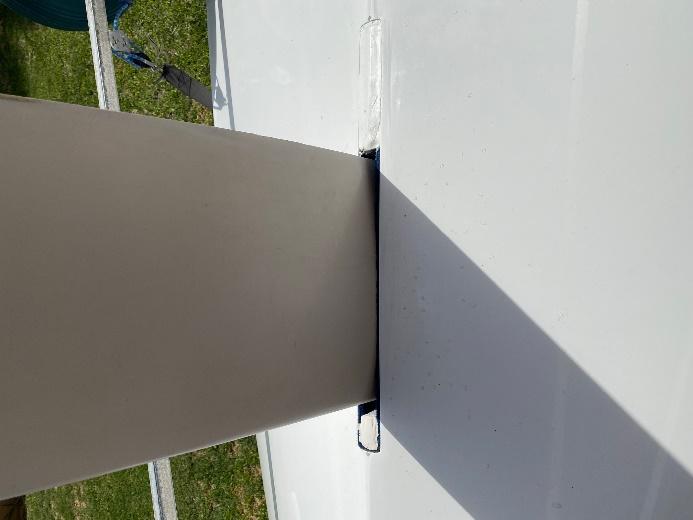
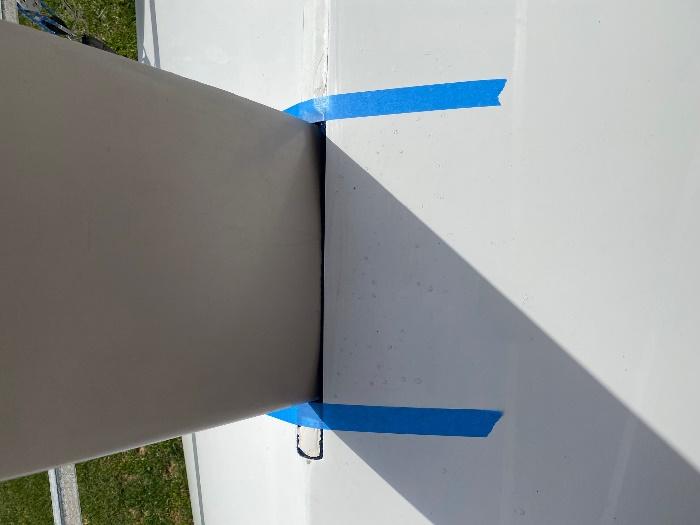
To start with I wanted to get our normal sailing position fore/aft and height of our centreboard (CB) marked. I did this by inserting the board while the boat was on its side and then turning upside down. Once upside down I marked out the positions with masking tape on the boat and board.
Step 2
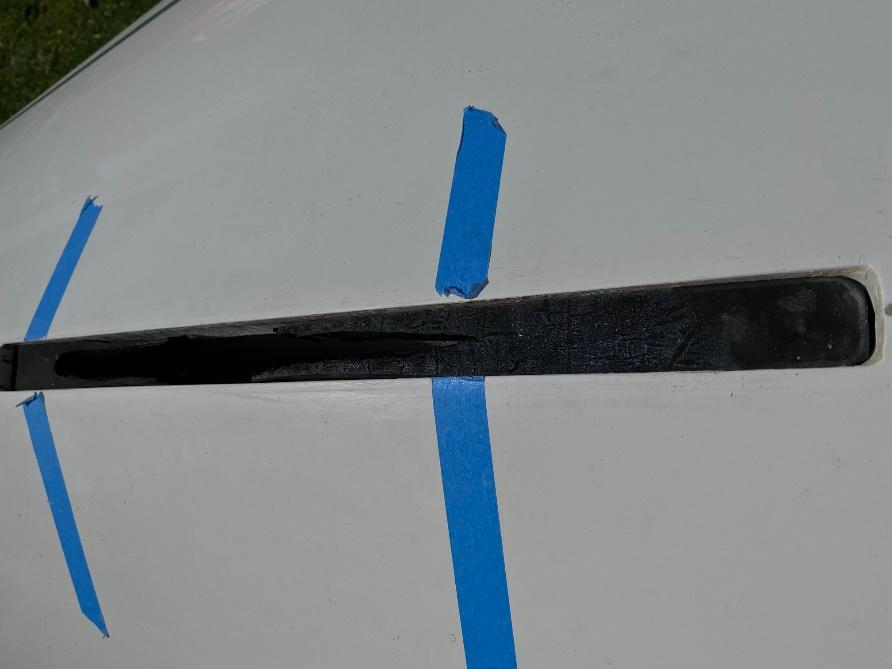
Once marked out to my satisfaction I removed the CB and proceeded to remove the old case insert. I initially used a utility knife to remove the majority and then a Dremil with a sanding head to remove the rest.

Step 3
Using 20mm thick high density foam I shaped a cut out of where the CB would exit. After a bit of trial and error inserting and removing the CB I settled on using the leading edge 50mm and 100mm on the trailing edge. Once I was happy with the fit I used contact adhesive to fix into place. I left 10mm of clearance from the foam to the hull for the next layer of material.

Step 4
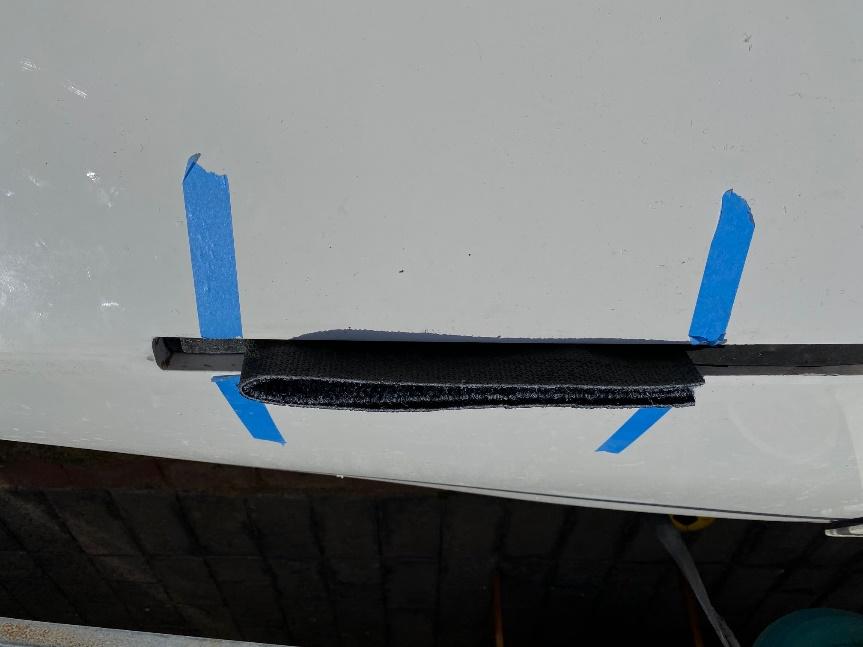
Using contact adhesive I glued a 40mm wide strip of marine carpet into the currently shaped case. I kept the join of the carpet at the trailing edge of the CB. I was aiming to have 10mm of carpet to extend from the hull to be trimmed down later. I wrapped the CB in glad wrap and inserted it into its normal sailing position to help it set in the right shape.
Step 5
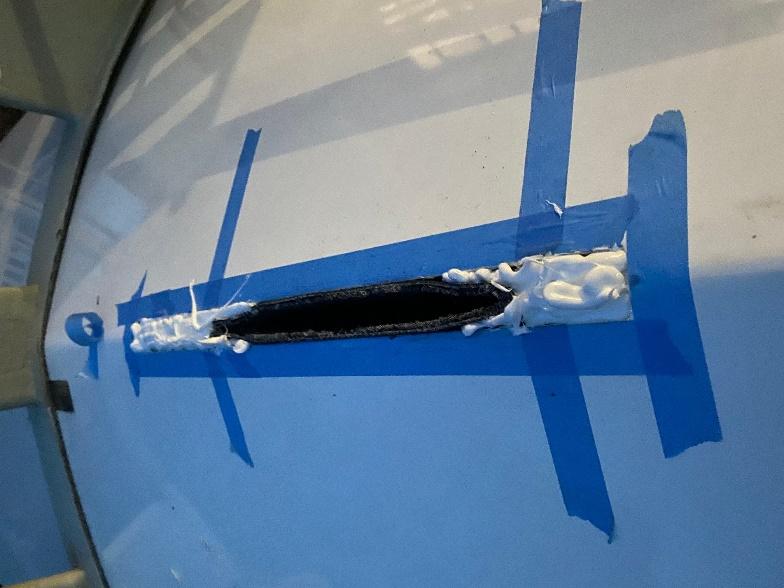
With the CB in place I then taped around the area. With the CB in place I filled the remaining void with Sikaflex. Here you have two options.
Option one is to try and add the exact amount you want and shape it while still wet. Can be tricky and very messy.
Option two is to fill in with far more than you need and trim back later with a utility knife. This would be the option I'd try next time.
In the photo I have the CB removed and put it in after and had to redo the Sikaflex
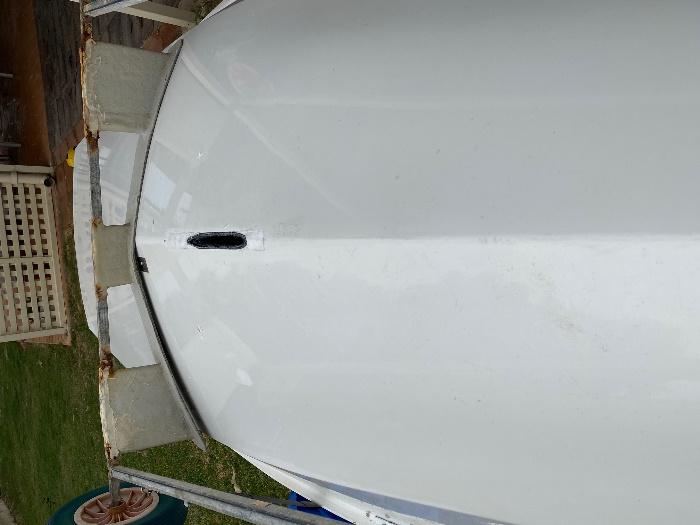
Step 6
Once dry trim excess material and remove masking tape.
What I learnt
This seems to be a good cheap and sound option for a retrofit. I wasn't completely happy with the initial result but fixed it quickly. We've now sailed with it in 2 regattas and general club sailing. While a bit tight at first it is now fine. We've run aground once and the CB did cut into the Sikaflex but I put a small amount into the cut and it fixed the cut.
While doing the retrofit I'd make sure that you have someone to help you as it does involve lifting and rotating the boat a lot.
Instead of using Sikaflex as the final layer you could use a sand able filler. Alternatively, you could use flocoat/gelcoat but I would want to make sure the area is sealed so there's no leaking and I'd also want to check curing temperatures.
Time - Approximately 4hrs not including drying/curing time
Cost - Approximately $30Aus
Materials - 300mmx50mm high density foam, 500mmx40mm marine carpet, contact adhesive, Sikaflex, masking tape and Gladwrap
Pros - Good option for shallow water sailing. Easy to repair. Cheap
Cons - curing time, Sikaflex difficult to shape
Stuart Templeton